How to Make a Cloth Mask for Self-Protection
Hi all. I know it’s been forever and ever since I posted here, but these are strange times we are in right now, and with the government now recommending that everyone out and about doing essential business (aka, doing a weekly grocery store run or going to the post office) needs a mask. We can’t buy medical masks and we can’t even buy paper masks or painter’s masks or anything else. What are we to do?

If you can sew, even if it is by hand, even if it is sloppy with a machine and you don’t have a lot of experience, you can do this. You don’t need much, and I’m going to show you how. My 17 year old daughter, who has never touched a sewing machine in her life, was able to make herself a mask with my instructions. If she can do it, you can do it!
NOTE: I adapted this pattern from the Deaconess Hospital mask pattern, which can be found here. The site contains the measurements they recommend and a short video on construction. My pattern is only slightly different, so you can decide which one you want.
You should be able to make a mask in less than a half-hour.
Step 1
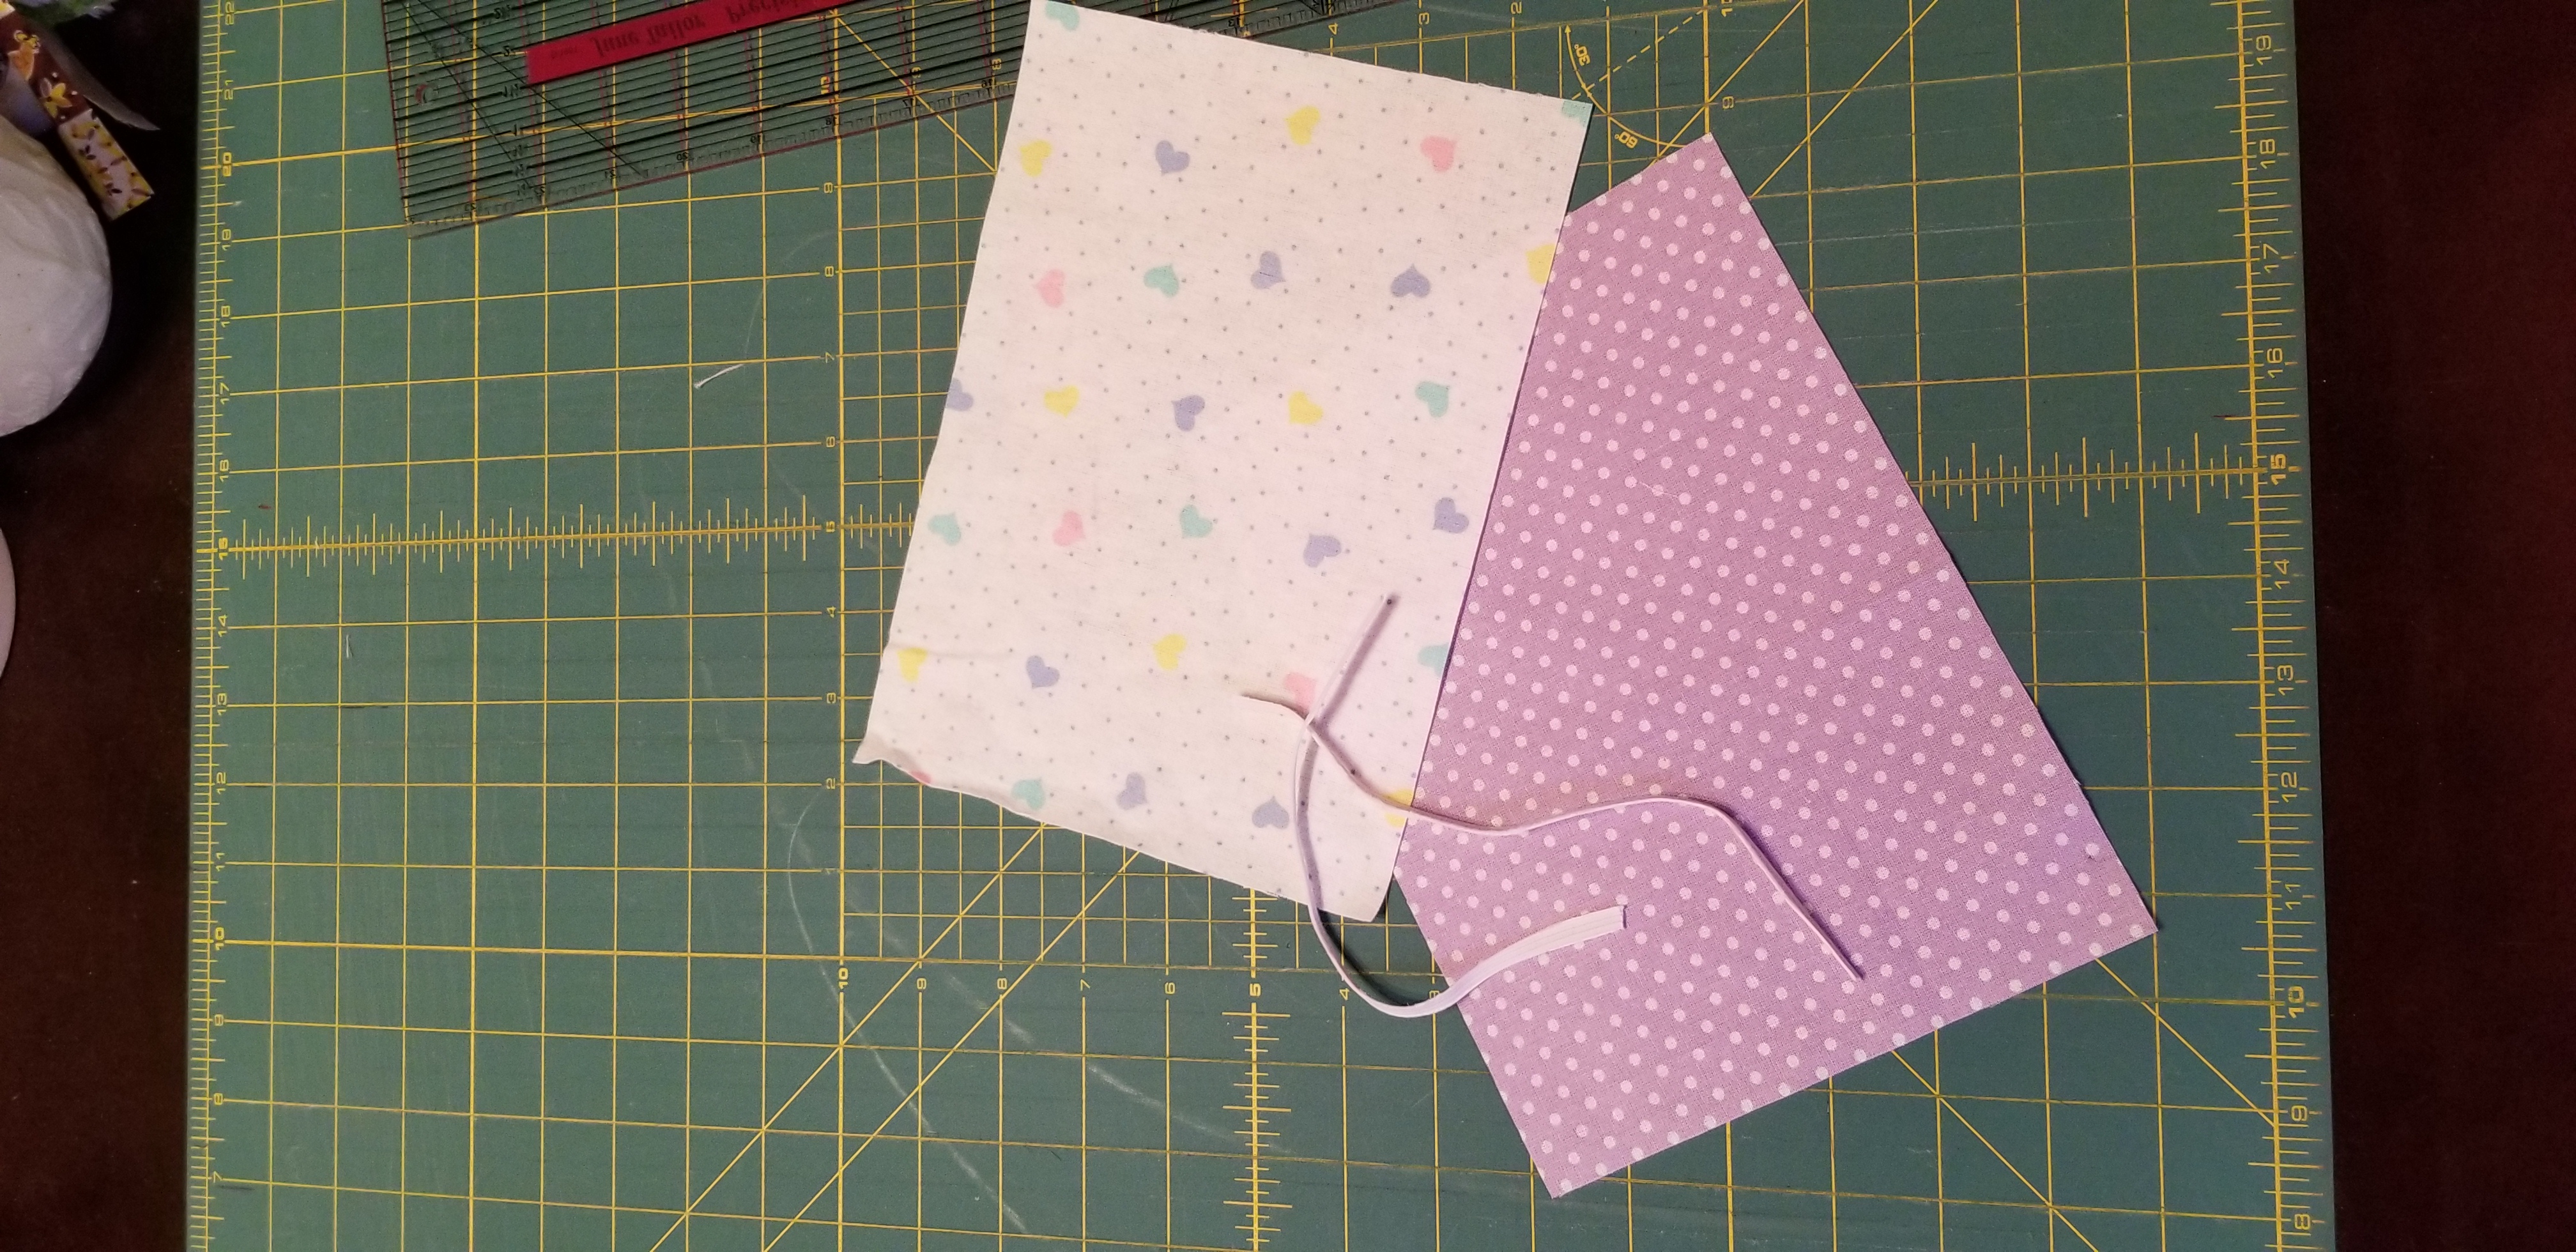
You will need at least two pieces of fabric to make your mask. Pick a sturdy cotton, with a tight weave. Flannel is great for one of the fabrics because of the tighter and fuzzier weave (less gets through) and because it feels good on the side that will be against your face. If the only cotton you have is thin (you can easily see light through it), you can double or triple the layers to get a better effect. These instructions assume you are using two layers of fabric, so you may need to adjust a few steps if you are using thicker fabric. You will also need two lengths of elastic, size 1/8 or 1/4″ wide. If you do not have the right size elastic, you can split a wider piece into a suitable size. Soft elastic is best. Here are the measurements you will need for your mask:
- Cut 2: cotton calico, lightweight cotton canvas, flannel, etc. into rectangles that measure 6.5 x 9 inches.
- Cut 2: elastic, 7.5 inches if soft, 8 inches if stiffer.
Step 2:
Place fabric right sides together. With a pencil, measure about 3 inches from the top of one of the long sides and make a mark. Move down another 2 inches and make another mark. This is the place you will NOT SEW so you can turn the square right side out after you are done stitching.
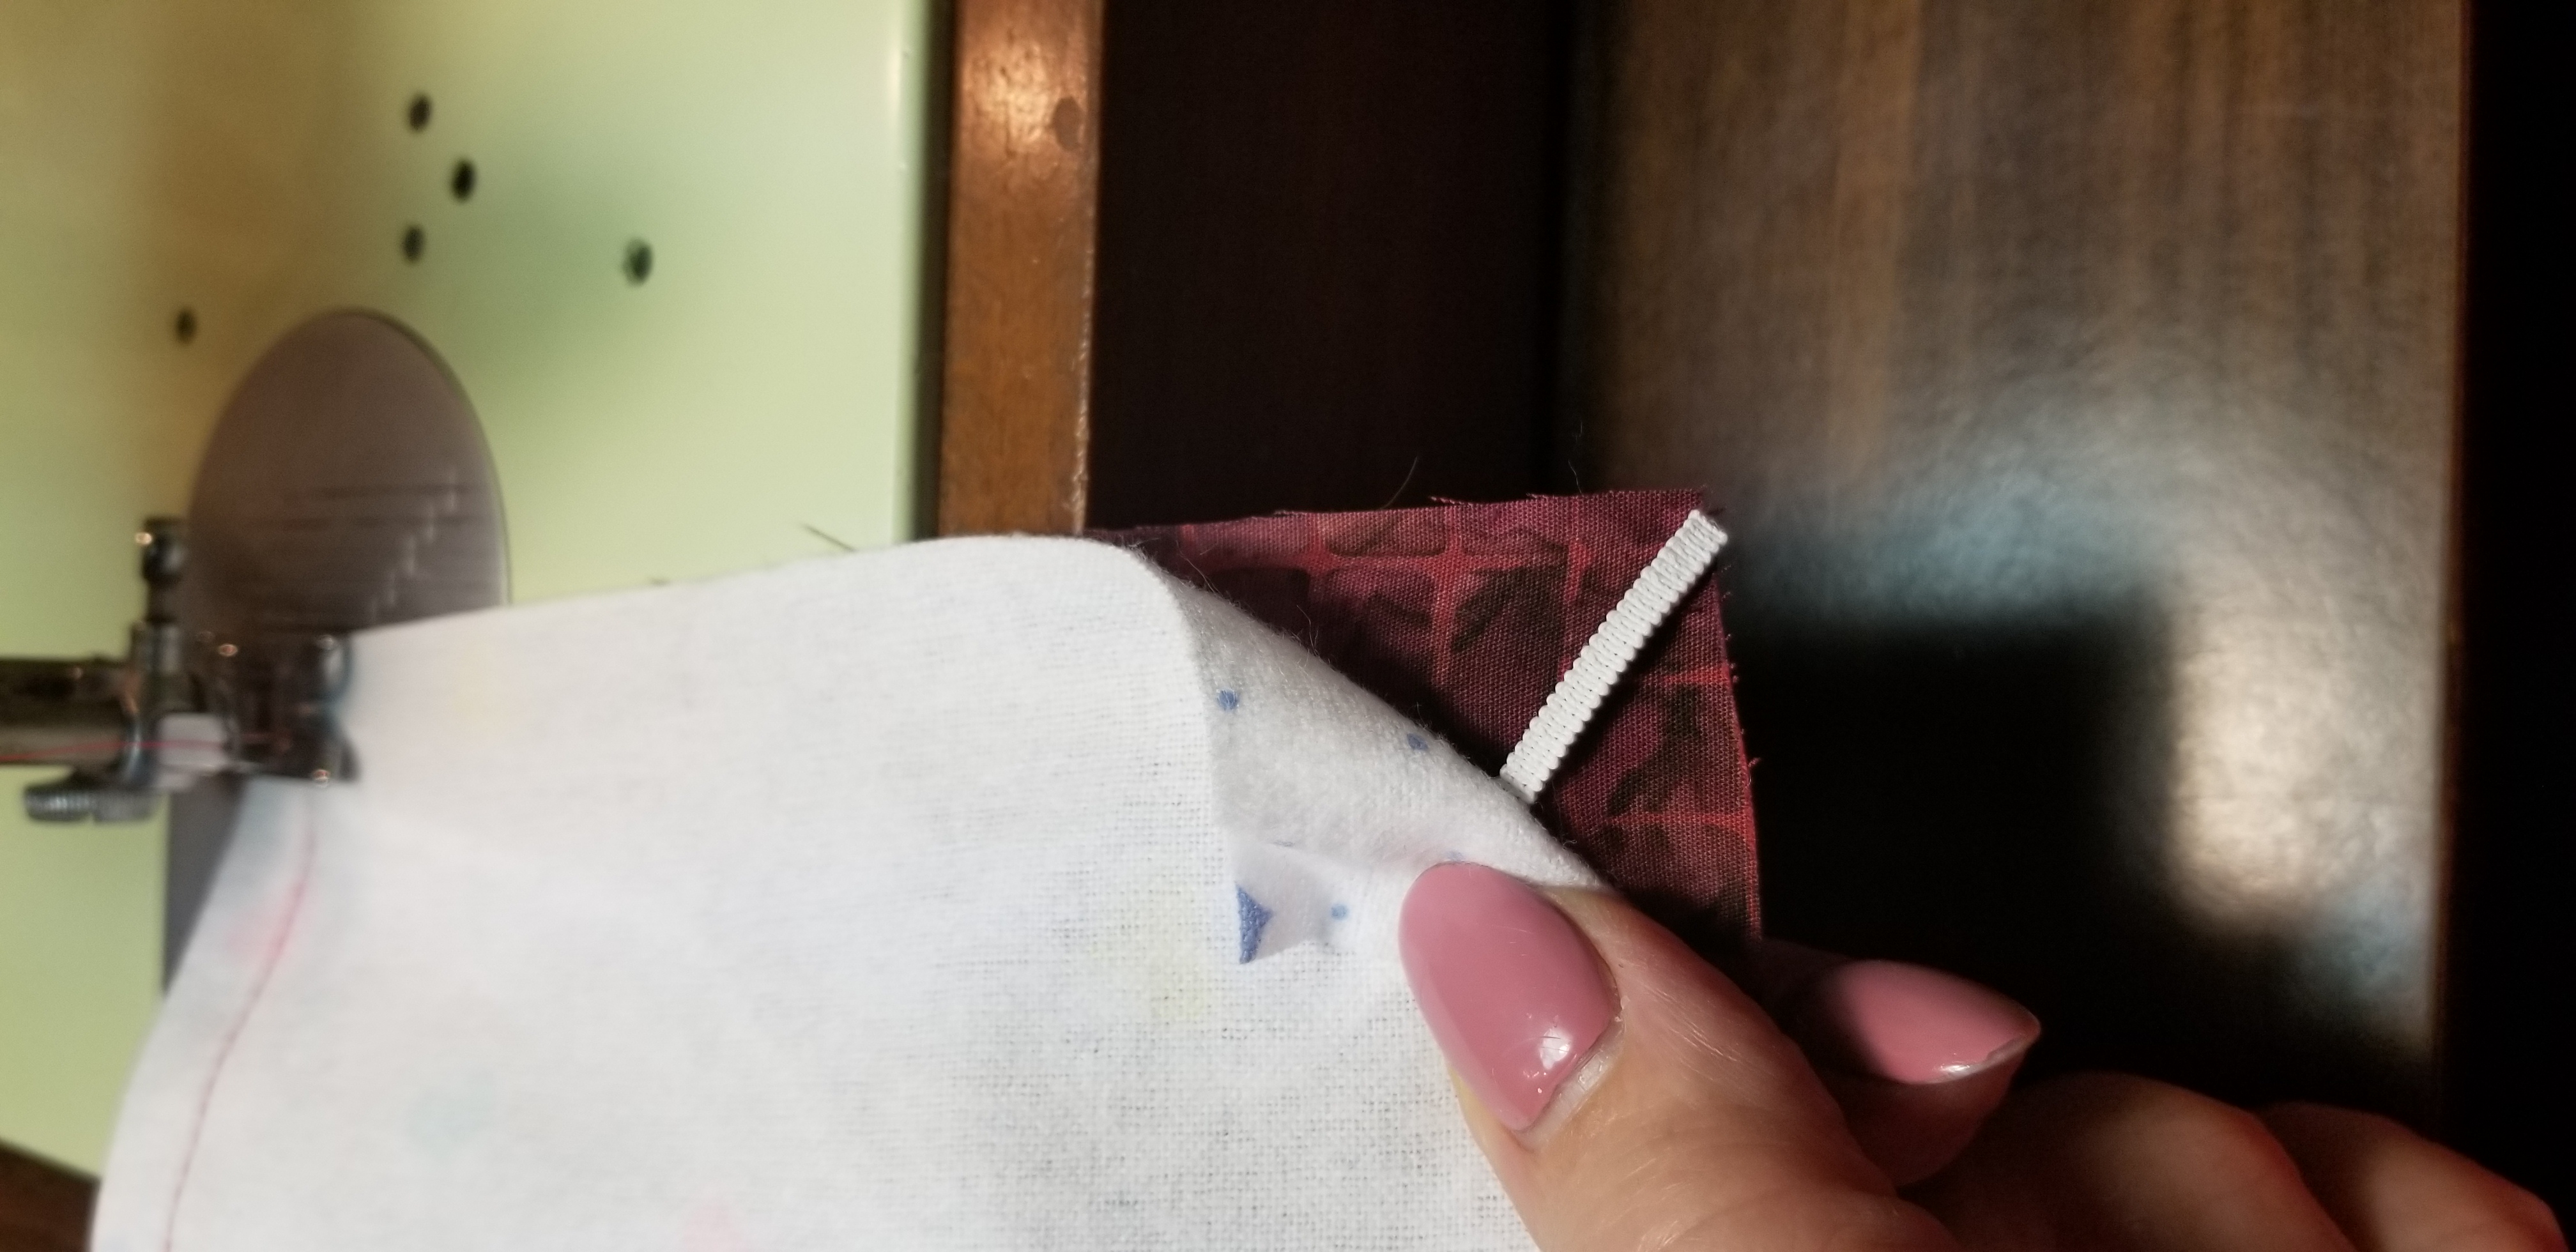
Using a 3/8 inch seam, back-tack at the second mark (sew 3 or 4 stitches backwards, then sew to about 1 inch before the corner. Stop stitching and lower your needle through the fabric to hold it in place. Flip up the top piece of fabric to keep it out of the way. Place the end of one piece of elastic at a diagonal at the corner of the bottom piece of fabric. Flip the top piece of fabric down to cover the elastic. Continue to stitch, holding the elastic in place with your finger, until you have sewn within 3/8 of the end. Make sure you catch the elastic in your stitching.
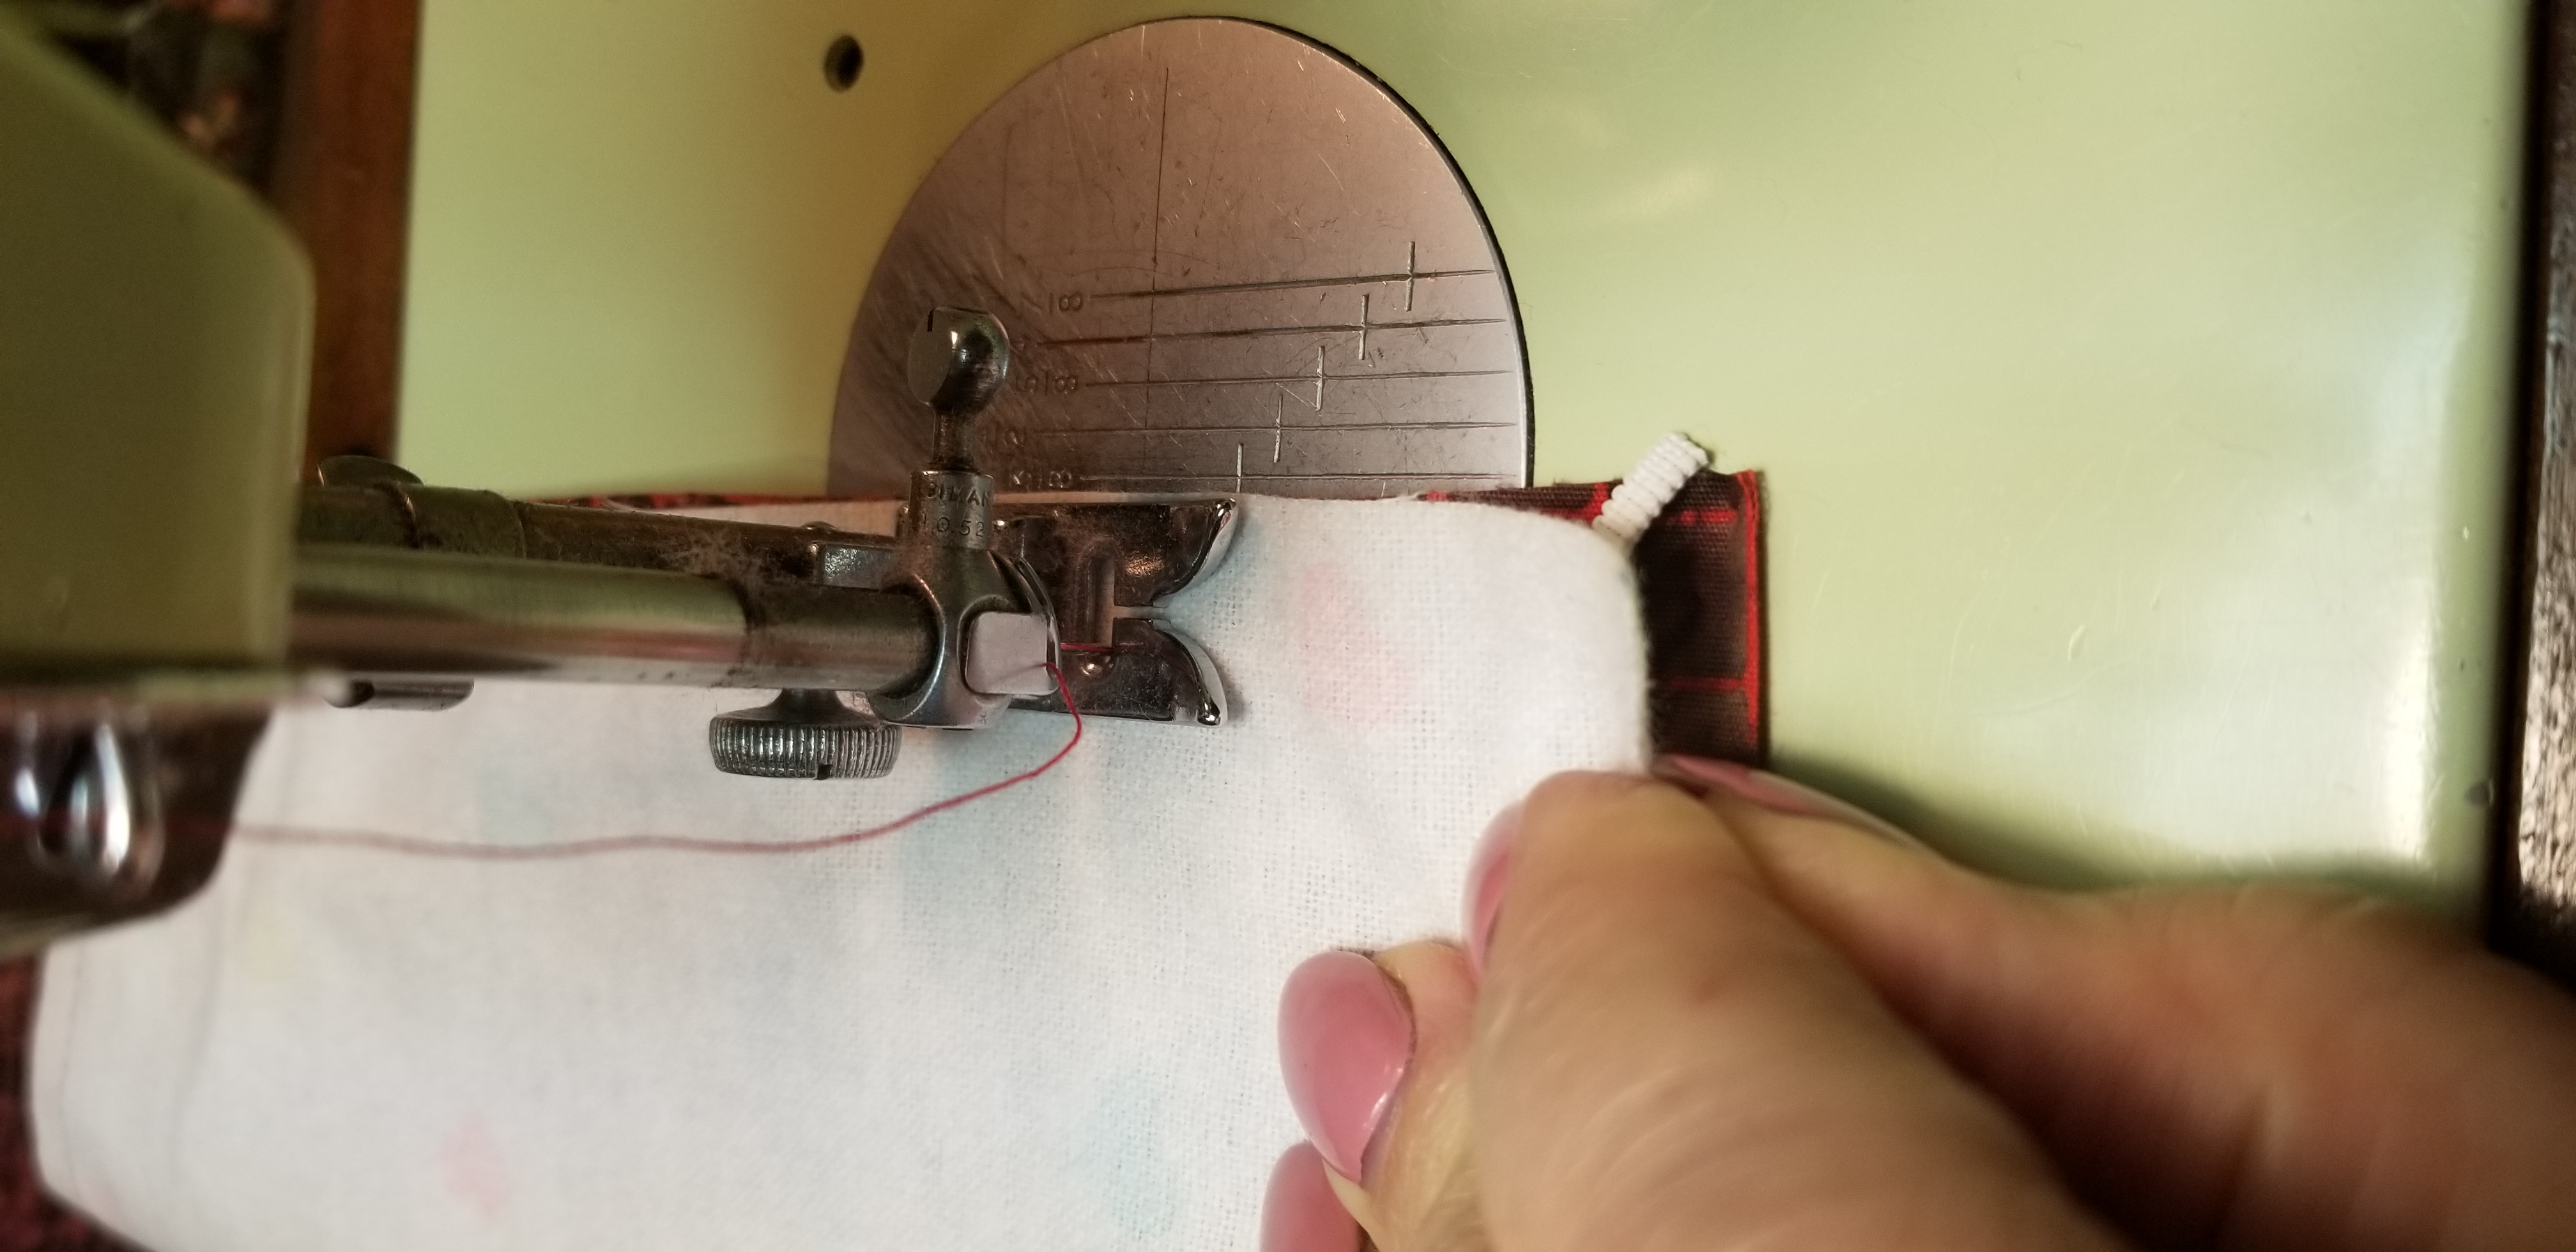
Lower your needle to hold the fabric, lift the feed dogs, and turn the fabric 90 degrees so you can continue to sew around the rectangle. Stop about 1 inch before you get to the corner. lay the other end of the elastic at the corner, as you did with the first corner, making sure the elastic is flat and not in the way of your need. Continue to sew to the corner, again catching the elastic in your stitching.
Lower the needle to turn 90 degrees to the next side. Repeat the above step with the next two corners. After you make that final corner turn, sew ONLY until you reach your pencil mark. Back tack to lock the stitches (put your machine in reverse and take 3 or 4 stitches backwards.
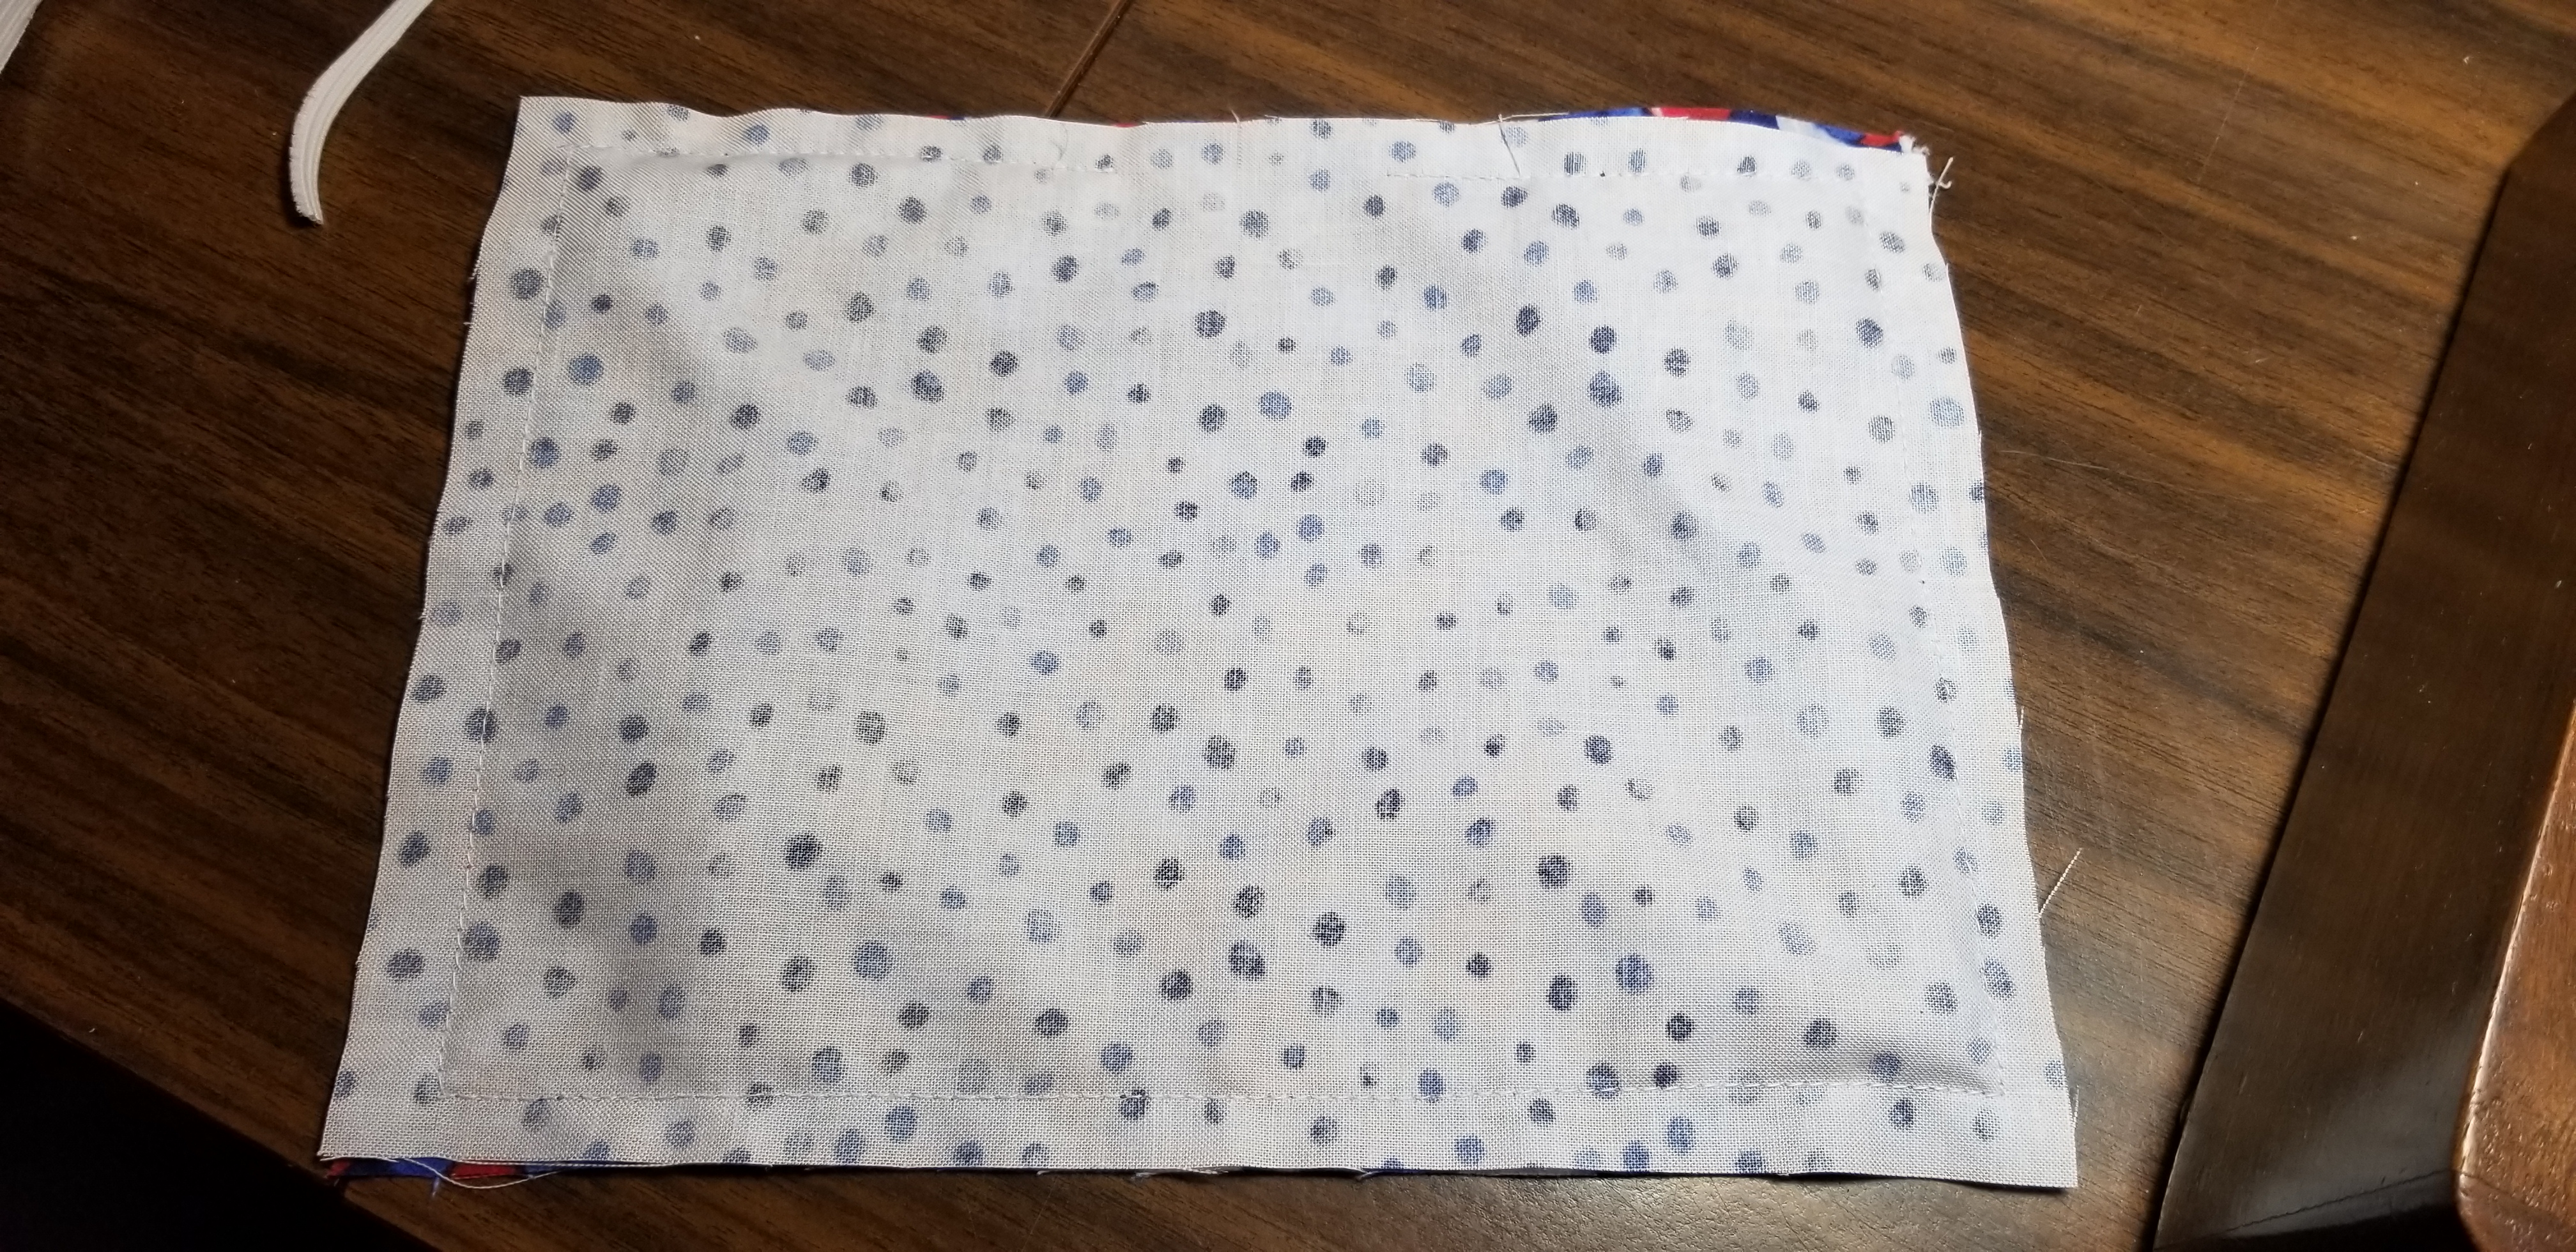
Step 3
You will have a completed rectangle that is inside out. You will need to turn the fabric right side out through the hole. To “pop out” the corners once you have the fabric rectangle turned right side out, tug gently on the elastic to pull those corners outward.
Press your rectangle.
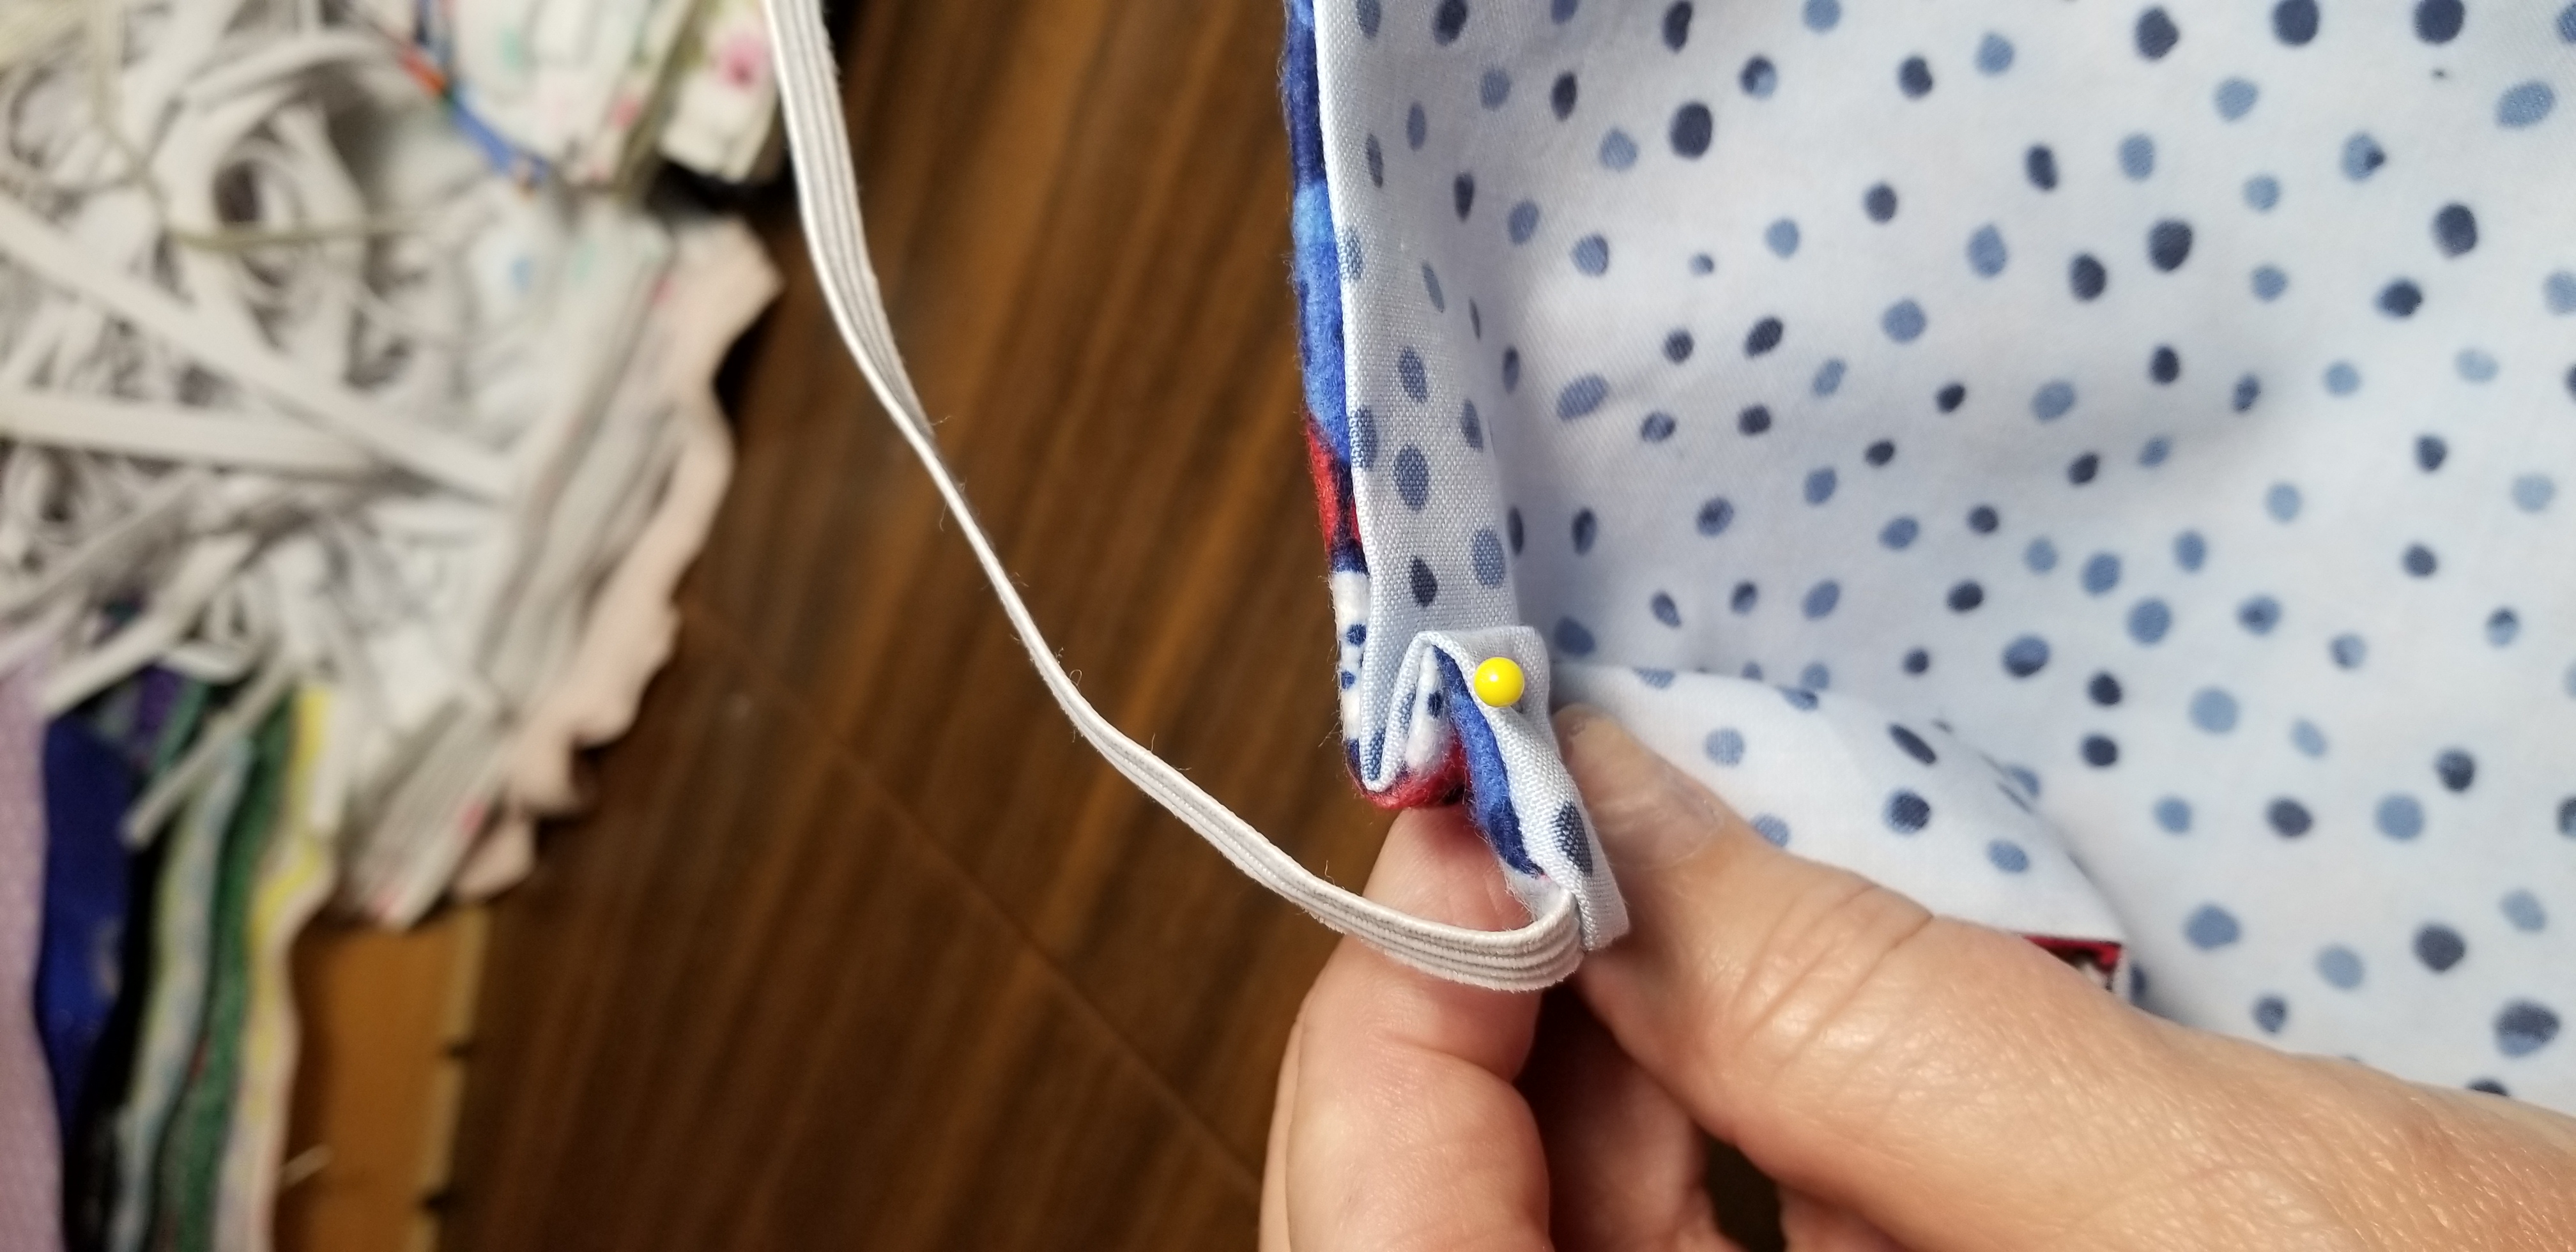
Step 4
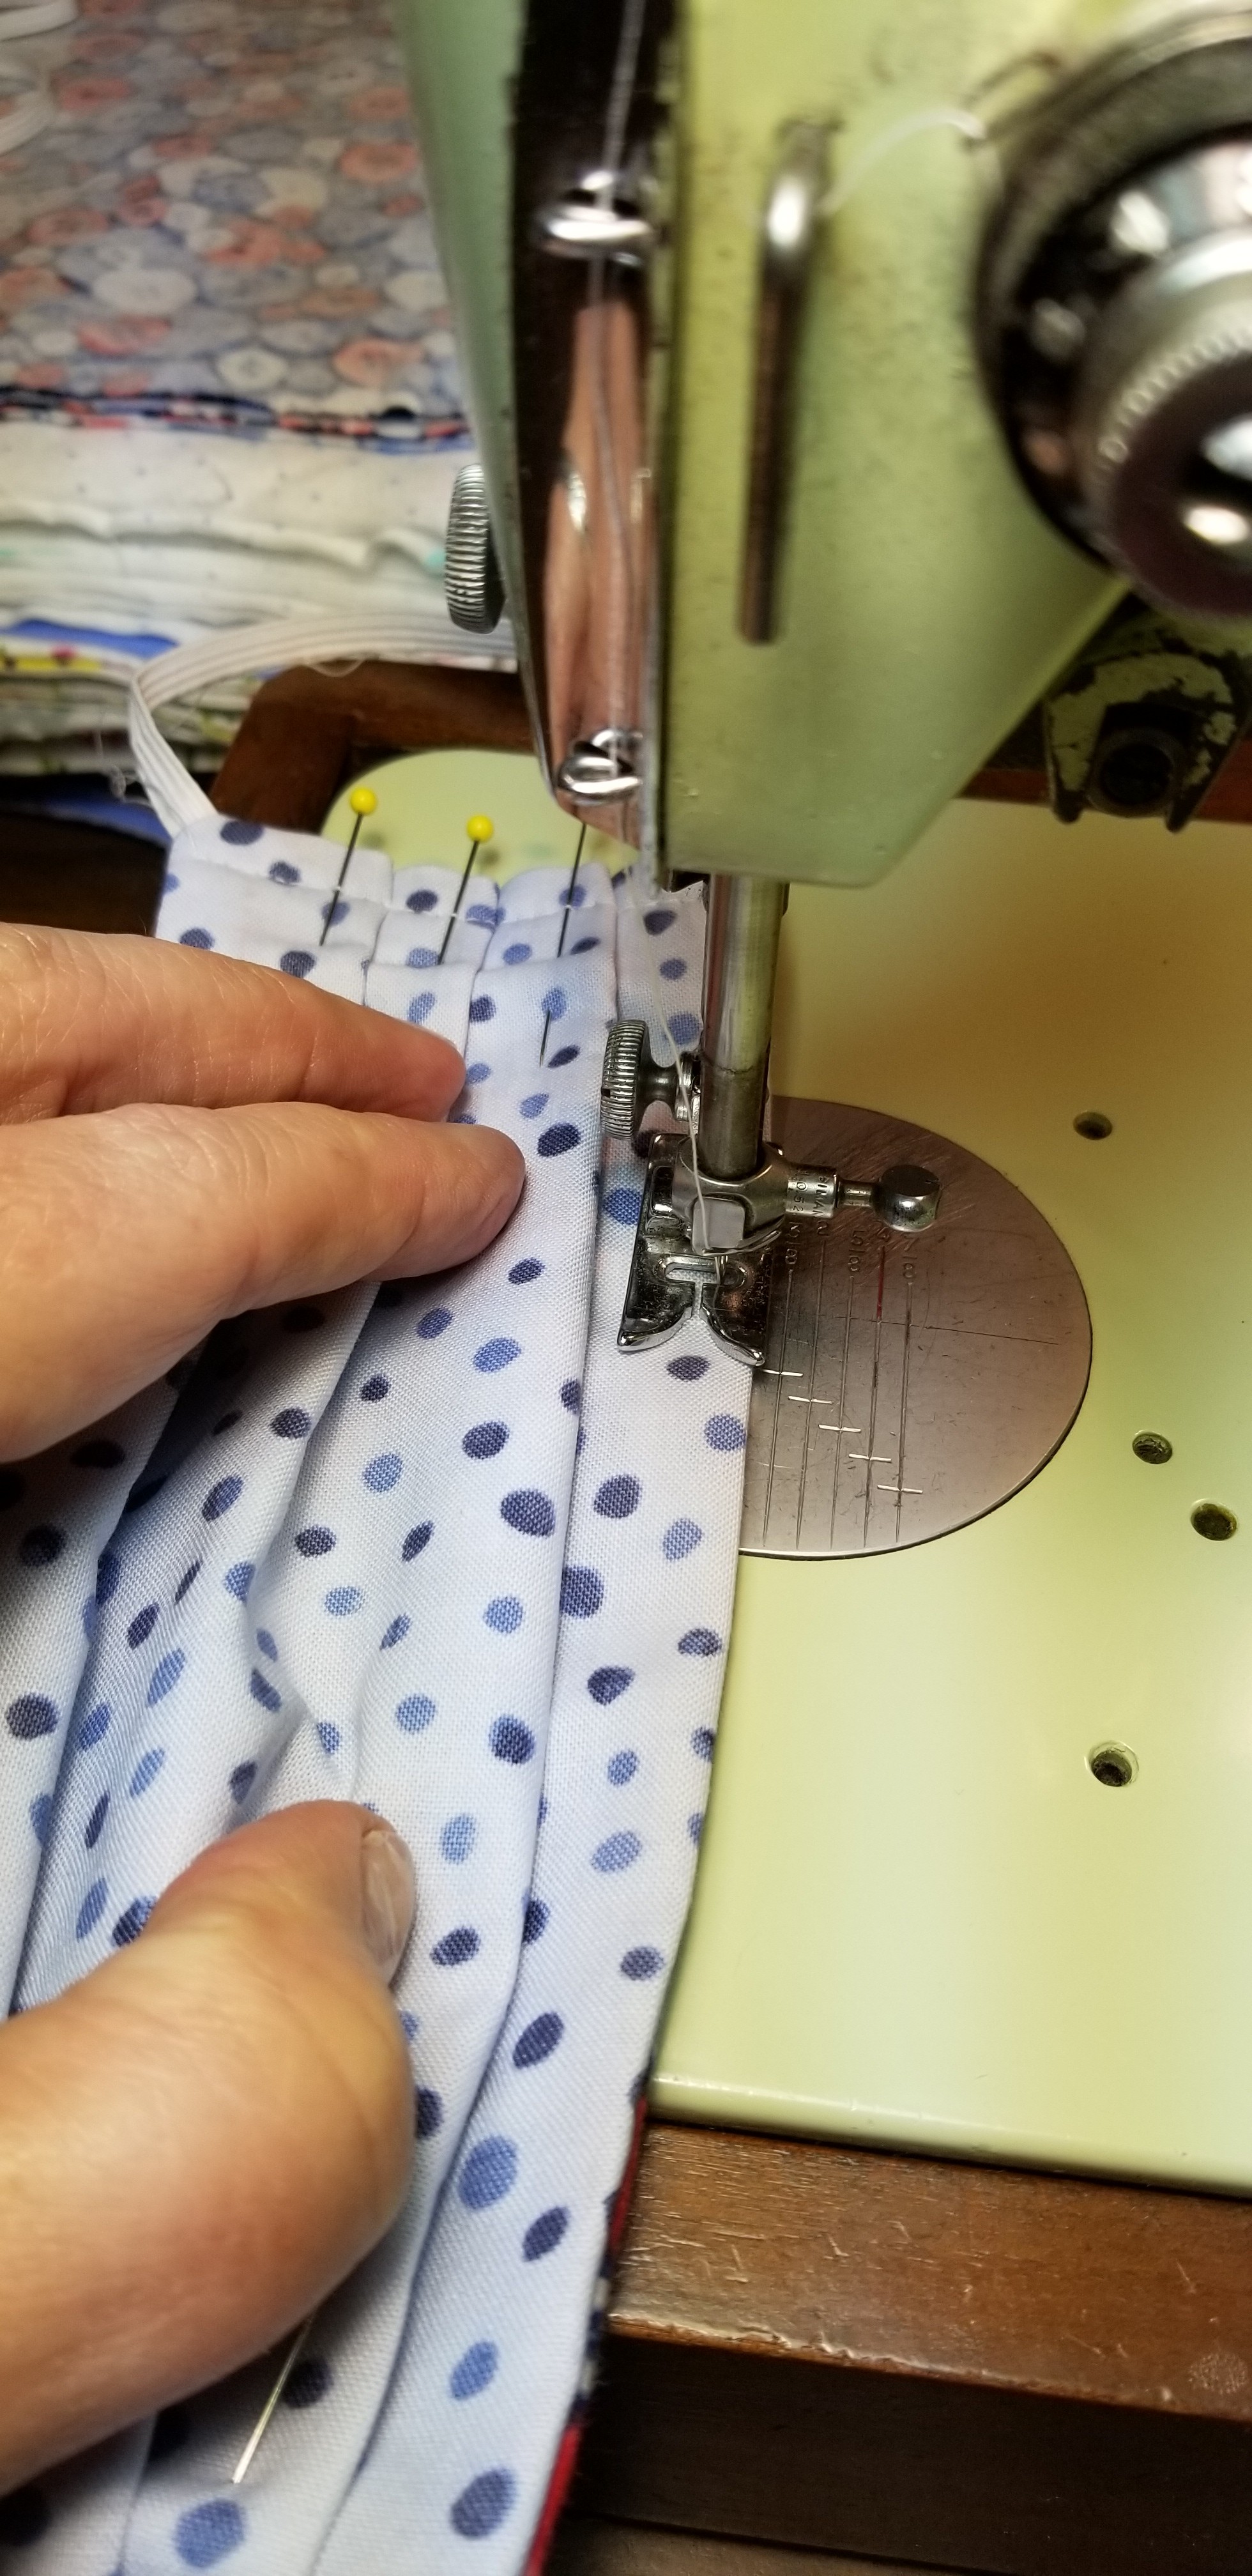
Now you will be making three pleats on each of the short sides of the mask. This gives it the shape it needs to fit your face properly. You may have to pin several times to get it right. Fold one pleat near one edge, and pin.
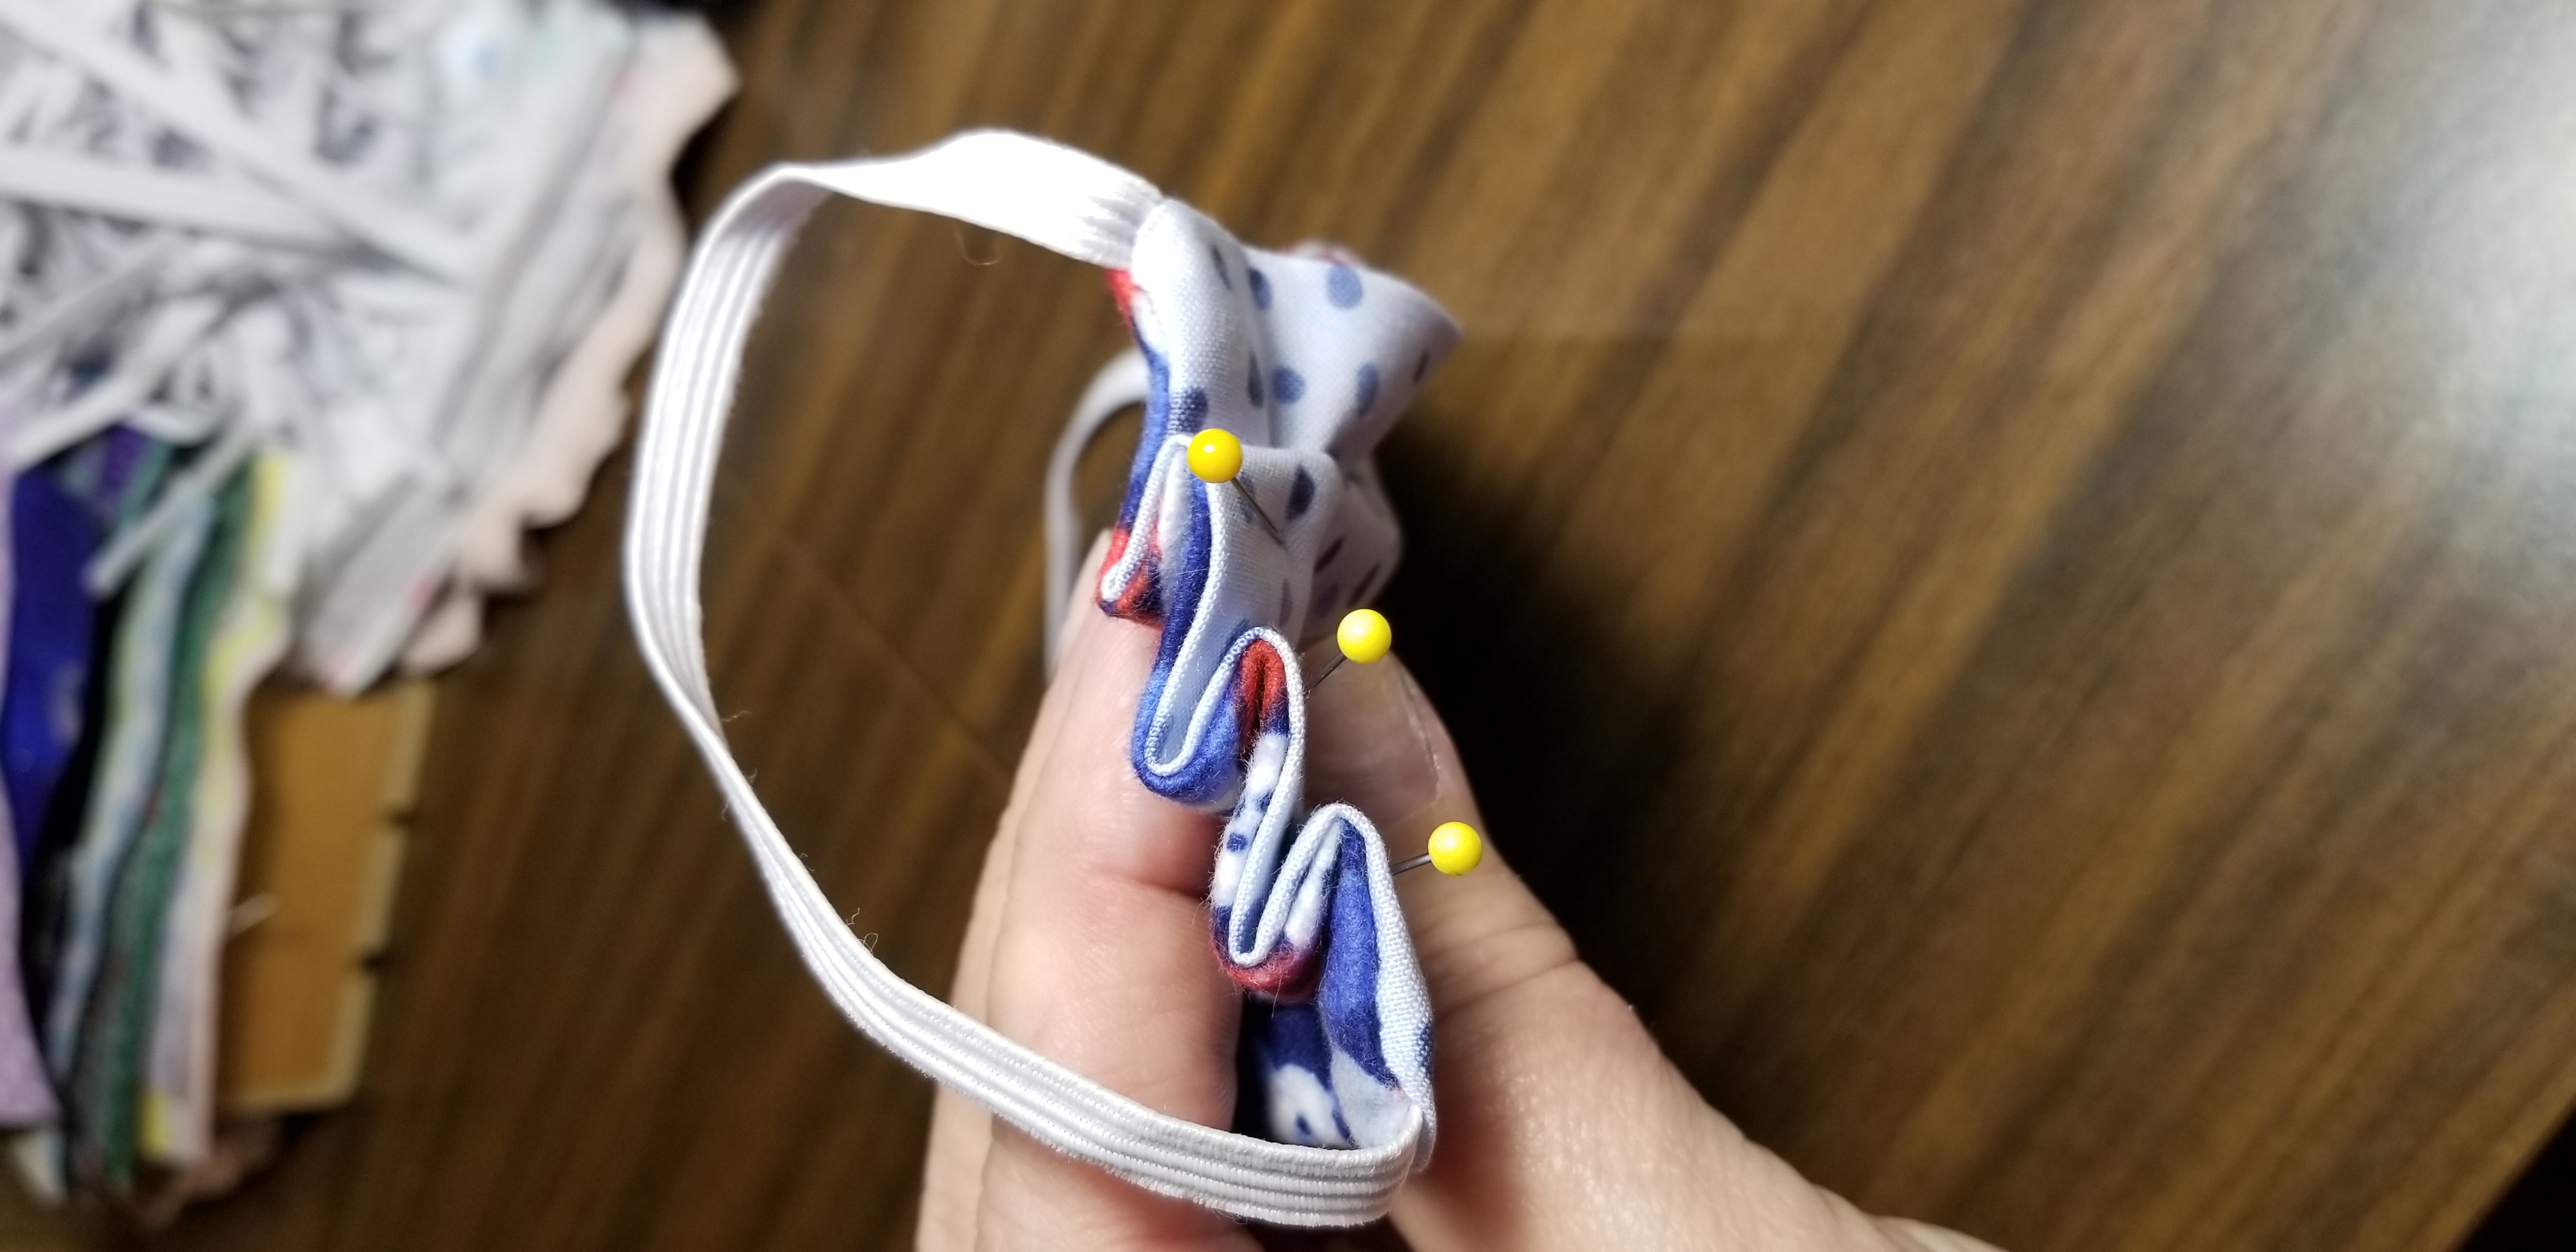
Pin a second one, and then a third. You want to be sure that all three are away from the seam at the long edge of the rectangle. Repeat on the other short side of the rectangle. Be sure your pleats on both ends go the same way. To see that they are right, lay the mask flat and make sure you can fold the pleats neatly from one end to the other.

Starting at one of the short ends, you are going to want to top-stitch about 1/4″ from the edge. The fabric is thick on the ends, so move slowly with your machine. You can pull the pins as you get close to them, or sew over them, depending on your machine.
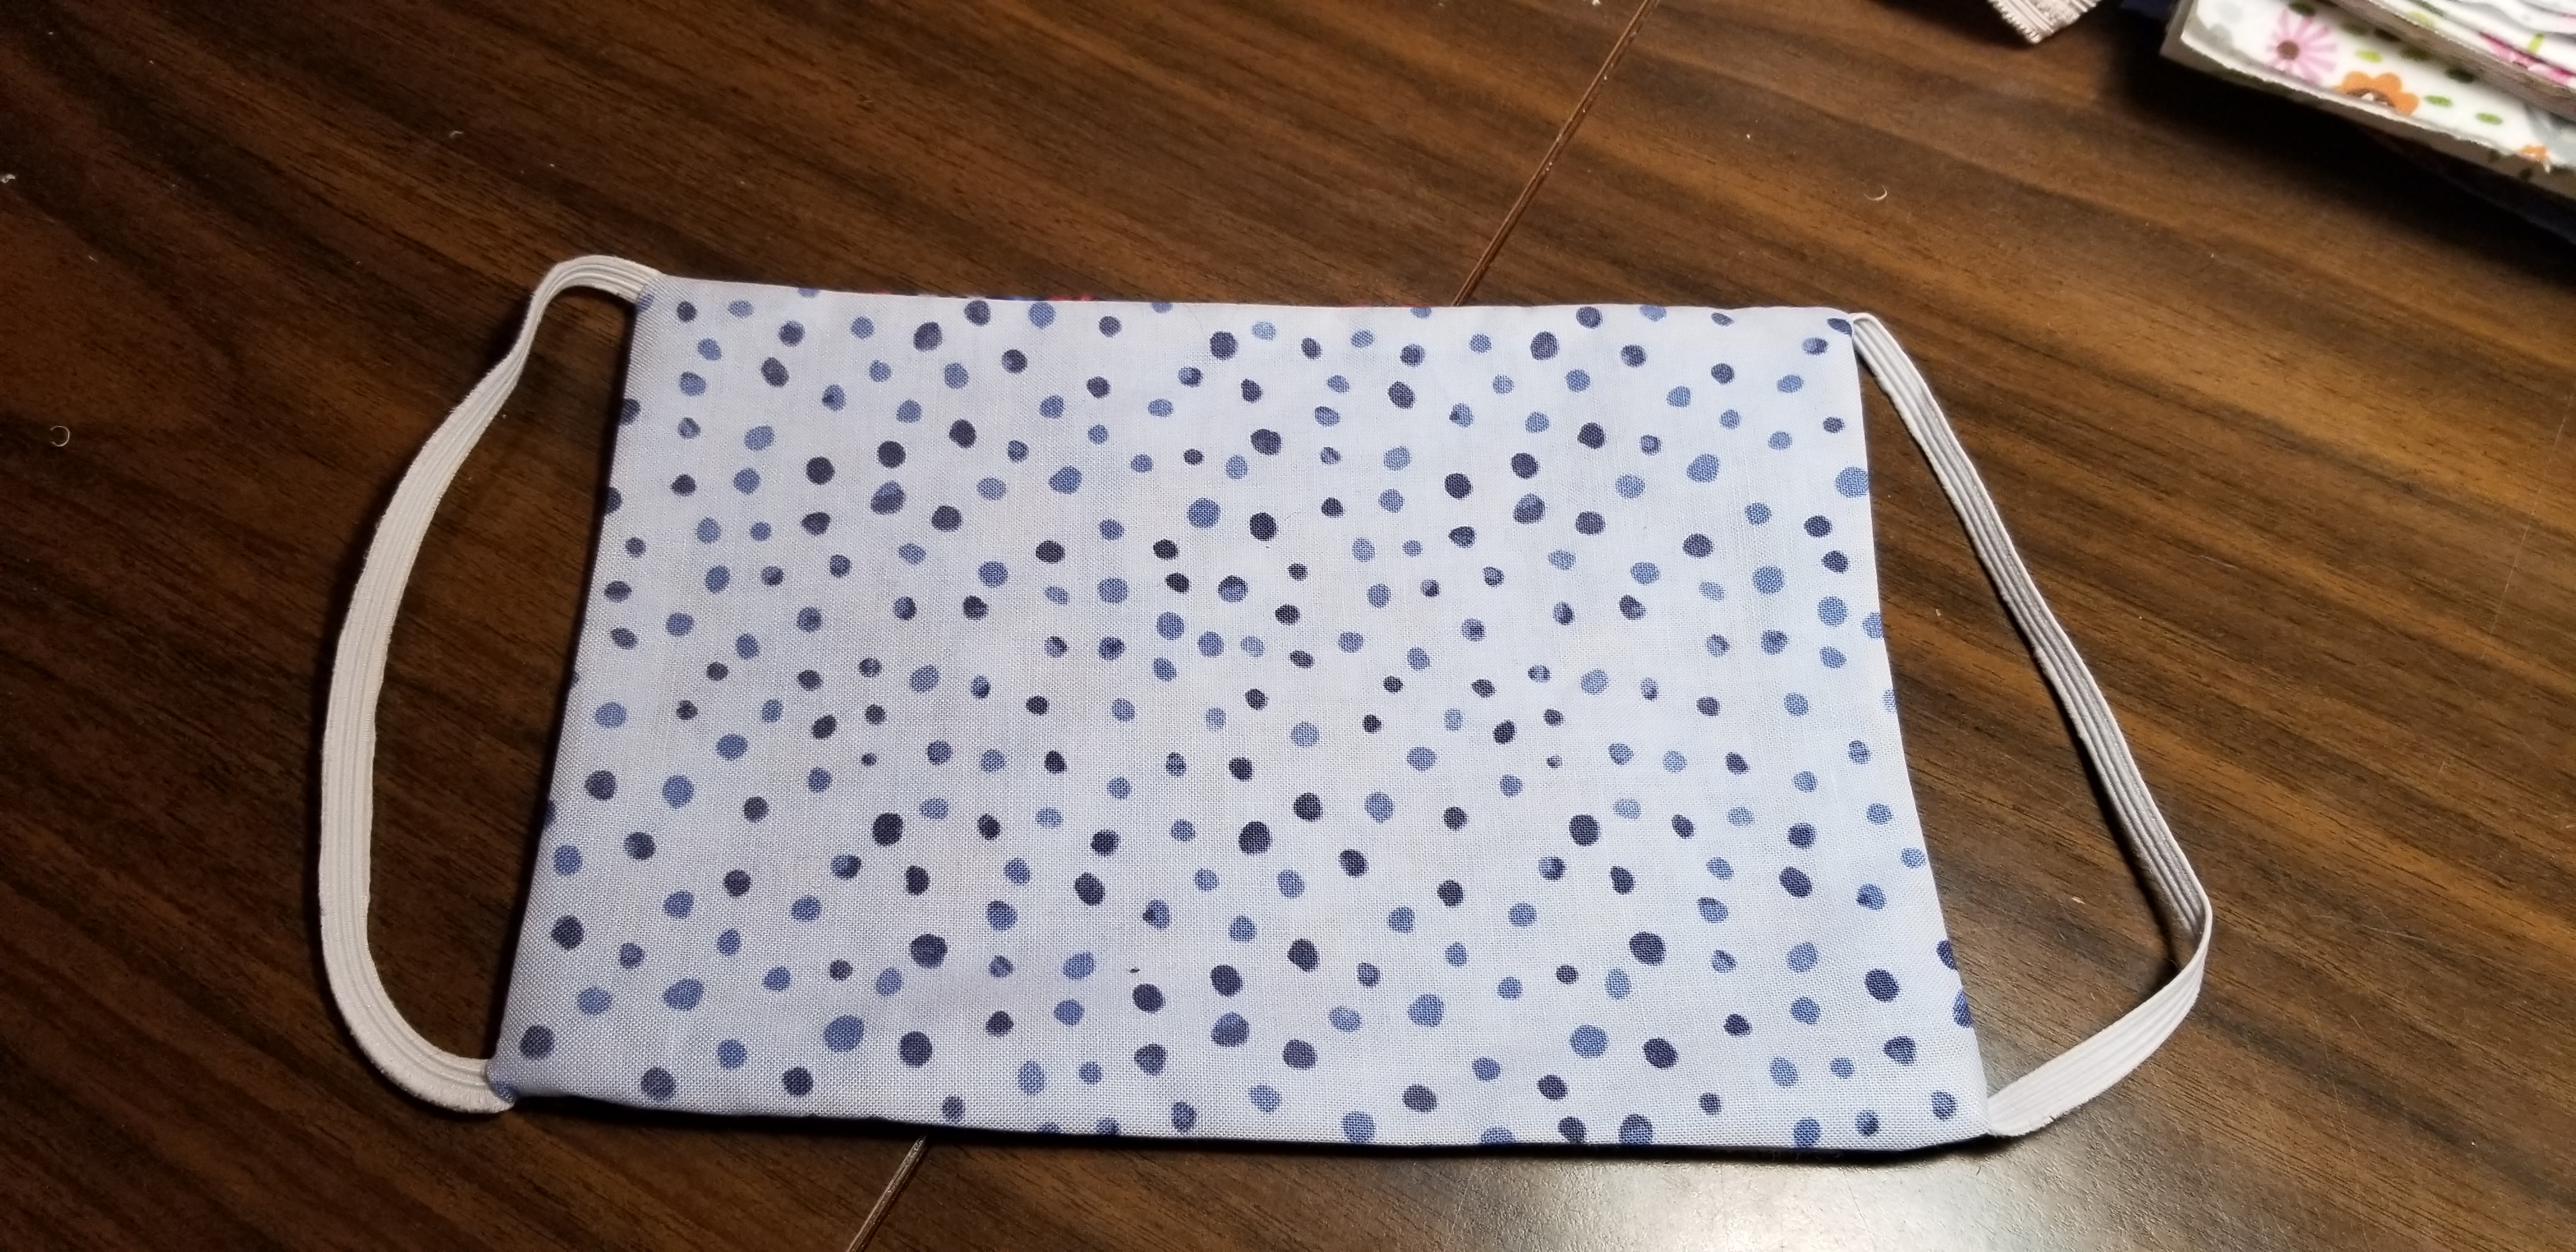
When you are finished top-stitching, snip your threads and remove the pins. Flatten the mask to make sure the pleats look good. Press.
That’s it! You did it!
~~~~~~~~~~~~~~
My crafting business, Patchwork Chicken Studio Art and Home, is busy making masks upon request for an organization that is supplying them to local nursing and care centers. While we are handing out a few here and there to those that need them, our concentration has been on making masks for this larger cause. We are making these for free, using fabric and materials from our stash. This is a labor of love. We hope you’ll head on over to our facebook page and give us a like and some love.