
Bowl Lifters
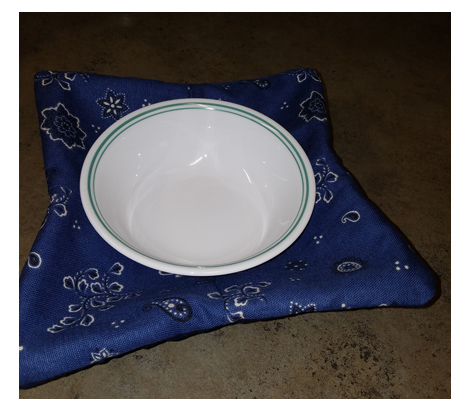
I’ve had a couple of requests for the instructions for making these. I like to give them as gifts, and they are a quick project to put together. You don’t even need to go to the fabric store, since you may have what you need for this project right in your own stash! What is a “bowl lifter,” you ask? It is a nifty cloth holder to go under your bowl when you put it in the microwave, and you can lift your too-hot-to-touch food by the corners of the “lifter” and not burn your hands. It’s also a cozy way to hold a bowl of soup or something else warm while sitting outside by a fire. And for those of you in warm places, it’s a great tool for holding that freezing bowl of ice cream so your fingers don’t get cold!
I promise, these are simple to make. They go quickly, too. I can usually do a set of four in an hour. They make great housewarming gifts, or “I’m thinking of you” gifts. They also sell well at craft fairs, and because the materials are cheap or “found,” they don’t cost much to make. That’s a win-win, right?
There are lots of pictures in this post, but I wanted to give clear instructions. Please feel free to comment if you need better instructions. I read all comments! Also, if you like this tutorial, please share this blog address!
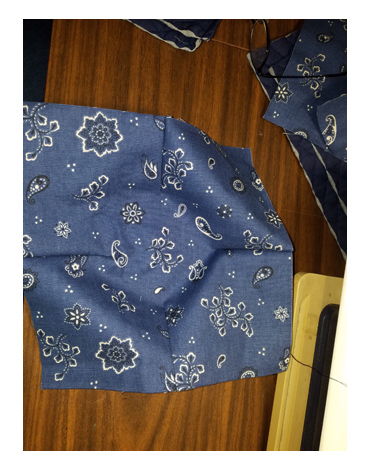
Let’s talk first about fabric. I’ve seen these made with all kinds of things – terrycloth, simple cotton, old quilt pieces, you name it. After making several, I came to the conclusion that I wanted a certain look for my lifters. They need to keep their “shape” and cup around the bowl without me having to hold it there. That meant taking some care with my fabrics. So, I prefer a duck-style fabric for the top, and the bottom will be a cotton-covered batting. The fabric-covered batting goes on sale pretty often, and I buy it several yards at a time, in a color that I know I will use. Right now I have a selection of navy blue, chocolate brown, black, cream, and light brown. The duck I buy as remnants or find at thrift stores. The fabric in this tutorial came from the thrift store and cost a dollar. There was enough fabric to make four bowl lifters. Oftentimes, I can find small pieces of duck that will work great for this project. Vintage is even better, which is what this blue “bandana” fabric is. It is a nice sturdy duck.
Whatever fabric you choose, be sure it is cotton, and washable. These lifters can get dirty with spilled food, so they need to be washable.
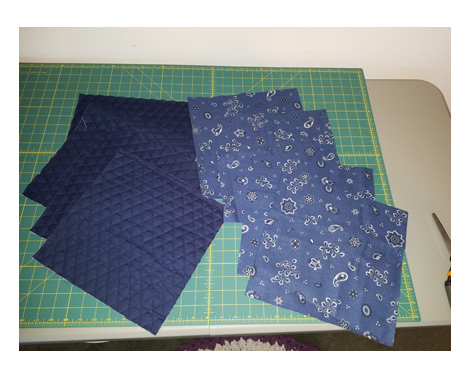
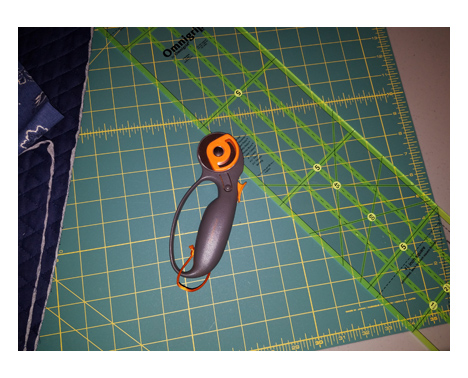
You will need enough fabric to make 11-inch squares. I’ve experimented with other sizes. You can go a bit smaller, but bigger becomes unwieldy for its intended use. I’m making a set of four, so I needed fabric that was at least 22 inches long, and 44 inches wide. Most fabric is 42-44 inches wide, including the quilted fabric I buy. So one 22-inch cut of quilted fabric will give me four bottoms. As with anything, use the right tools for the job. I cut these with my self-healing cutting board, a quilt ruler, and my rotary cutter. Grain is not super-important on this project – I treat it like I do quilting. I pretty much ignore the grain. These work out fine regardless. I’ve never made less than 2 bowl lifters, although I suppose I could give a single one to a single person. I use the ones that were made for me, so one is always dirty. I like having at least two.
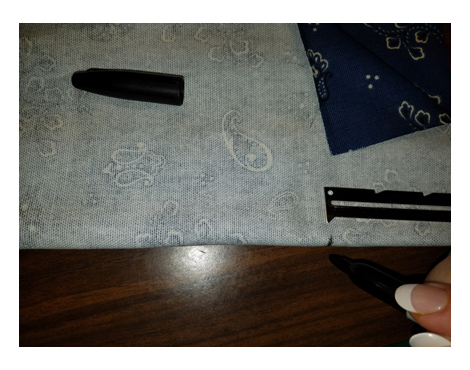
So the construction works with darts, and some seams. Pretty basic. The darts are what create the “crater” in the middle intended to hold your bowl. The darts don’t have to be perfect or pretty, but it helps to make them all the same. Randomly, I settled on 3-inch darts, but these seem to work well. Fold your fabric square in half, right sides together. Make a small mark with a marking pen or sharpie (make sure it doesn’t bleed through!) 3 inches from the raw edge, on the fold. Do this for both ends of your folded square. Then unfold your square and fold it the opposite way (90 degrees from where you just folded), and mark again.
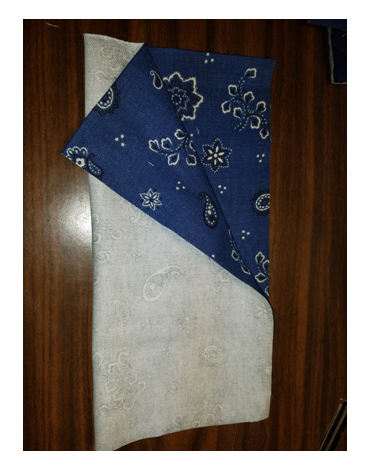
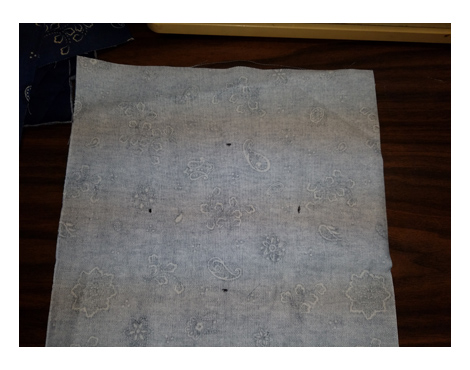
When you get done you should have something that looks like this:
 Do the same with the backing fabric. Remember that you will be sewing darts with right sides together, so only mark on the back of your fabric. For the double-fabric batting, both right and wrong sides look the same.
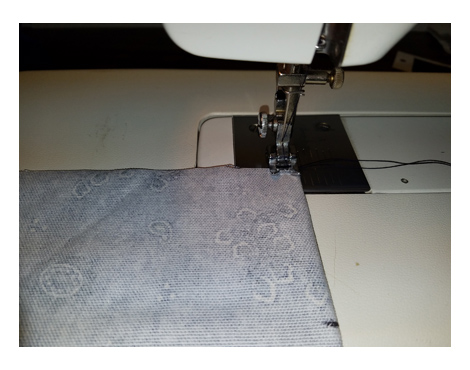
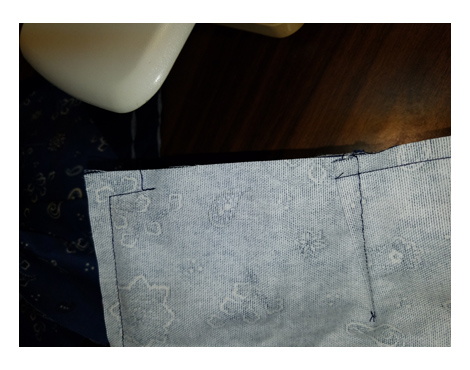
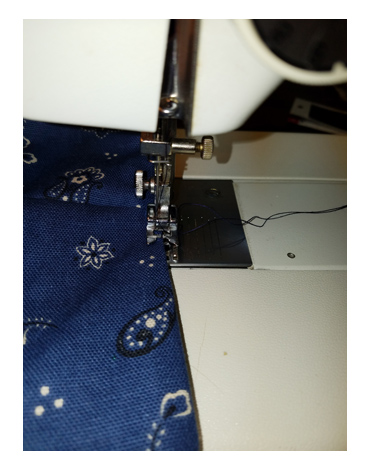
Now it’s time to sew! Fold your fabric in half again, right sides together. I find I don’t need to pin, but if you feel the need to pin, do so. The duck is pretty easy to work with and I don’t find it sliding around too much. Also, this is not a “fussy” project and small mistakes are not going to show. In other words, just go with it! Place your fabric under your pressure foot and be sure your seam width is at least 1/4th inch. Mine gives me a 3/8ths inch width, which is fine as well. Line up the right side of your presser foot with the edge of your fabric (see picture).
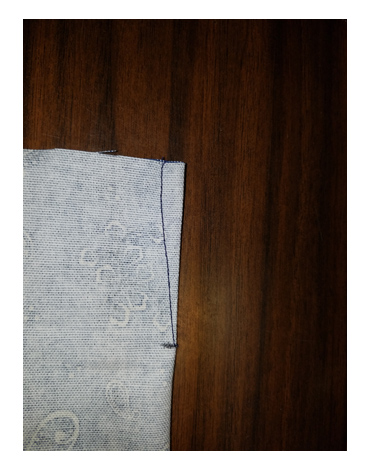
Using a medium stitch, sew towards your mark, creating a diagonal line of stitching down to the end of the dart. Back stitch at the end of the dart. Repeat on the other end of the fold, then open the fabric and refold the opposite way. Create both darts. When finished, you should have four darts, each in the center of the sides.
The “bowl” shape is already taking affect! Repeat these steps with the backing fabric. Trim all your threads.
 Put the back and the front right sides together. Again, if you feel the need to pin, do so. I am not much of a fussy sewist, so I just go with it. I usually do a 3/8ths inch seam for these. Starting in the middle of one side (near a dart), I start stitching, turning sharp corners. When I get to the fourth corner, I turn the corner, but only sew about 3/5ths of an inch, then back stitch a bit. Remove the piece from the sewing machine and trim threads.
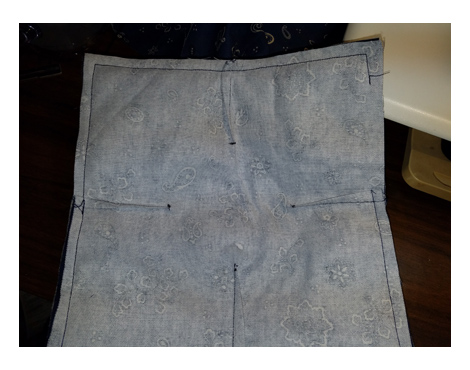
 Make sure you trim the corners!
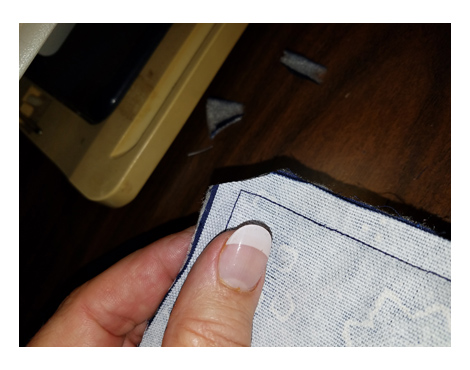
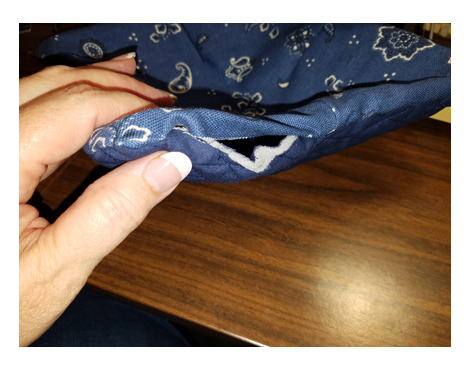
Using the opening you left, turn the fabric pocket right side out. I usually just reach in with two fingers and grab the furthest corner, working it all through. Once you have it pulled through, take time to poke out the corners. I use my fingers, but you can use the end of a pen or a large crochet needle. When you have it completely turned, you will need to stitch up the opening you left for turning.
 You can do this by hand, but you should do it by machine for sturdiness. Fold in the edges and smooth tightly with your fingers. Stitching as close to the edge as possible, stitch that remaining opening closed. You can also top-stitch all the way around, if you like, but I find the bulk of these makes it difficult to get a nice straight line.
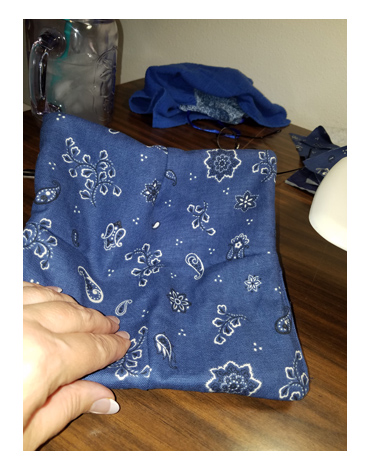
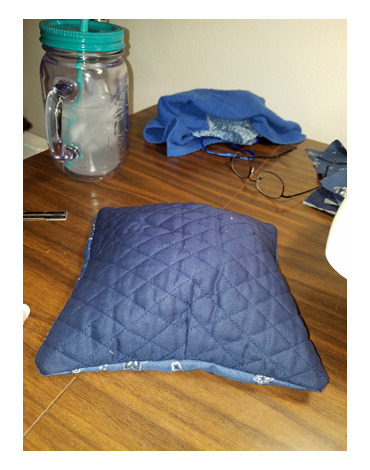
 And voila, you have your very own bowl lifter!

This was very well written and illustrated! As soon as I can wrangle myself down to my fabric stash and get my sewing machine set up, I’m going to have a blast.
Question: do you think I could make my own “quilted” bit myself? I’ve got scraps of quilt batting around, but none of the pre-quilted stuff.